Select Fixtures
First, fixtures must be selected to operate and change attribute values (for example, dimmer, pan, tilt, or zoom).
To select fixtures, use one of the following methods:
- Type the fixture ID in the command line using the numeric keys.
- Tap at the fixtures in a Fixture Sheet.
- Draw a lasso around the fixtures in the 3D Viewer.
- Tap a Group Pool object. See Create Groups.
- Tap a Preset Pool object. See Create New Presets.
 | Hint: |
| See the System Colors topic to learn more about the font colors used when selecting or deselecting fixtures in the fixture sheet. |
Examples
Section titled “Examples”Requirements:
- 10 patched fixtures. See Add Fixtures to the Show.
- A fixture sheet window is open.
To select fixtures 1 thru 5, press the following hardkeys on the console or use the command section menu ![]() :
:
Fixture 1 Thru 5 Please
This command is visible in the command line input:
| User name[Fixture]>Fixture 1 Thru 5 |
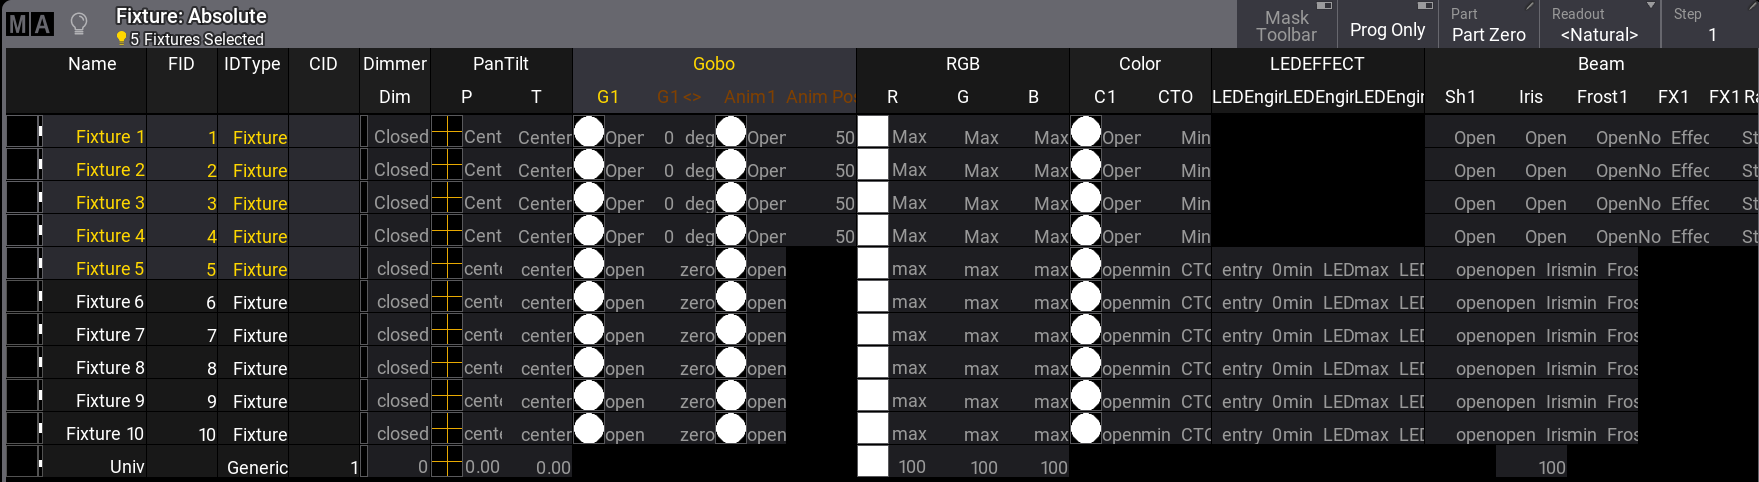
Fixtures 1 thru 5 are selected. The five selected fixtures are in a yellow font in the Fixture Sheet window:
To exclude fixtures from a selection, for example, type:
| User name[Fixture]>Fixture 1 Thru 10 - 6 Thru 8 |
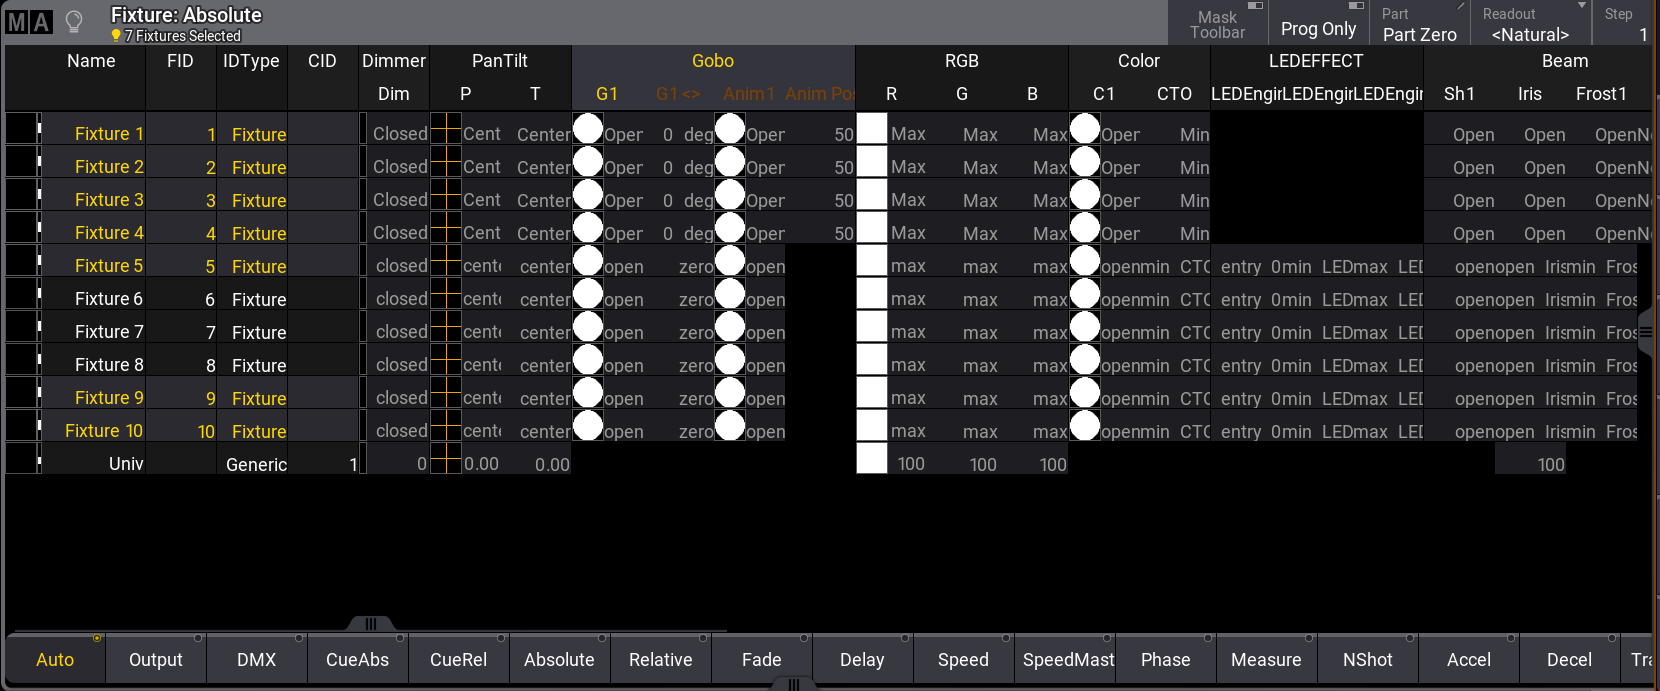
Fixtures 1 to 5 are selected, 6 to 8 are deselected, and 9 and 10 are selected:
To make the same selection of fixtures as shown in the example above, using a different syntax, type:
| User name[Fixture]>Fixture 1 Thru 5 + 9 Thru 10 |
To select fixtures in two commands, type:
| User name[Fixture]>Fixture 1 Thru 5 |
| User name[Fixture]>Fixture 9 + 10 |
To select fixtures 9 and 10 in the example above, use + or Thru.
 | Important: |
| Some keys are used to navigate the fixture sub-selection within the MAtricks function. The keys have an on-screen version called the Selection Bar, which can also be used to select fixtures. |
Recursive Selection of Fixtures
Section titled “Recursive Selection of Fixtures”Some fixtures have multiple subfixtures. The following examples demonstrate how to select fixtures and their subfixtures in various orders and hierarchies using an additional dot (.) character.
| Hint: |
| See the First Patch topic in the Quick Start Guide to learn more about subfixtures. |
Requirement for this example:
- 10 Ayrton Alienpix - RS Ex 16-bit patched. See Add Fixtures to the Show.
- Fixtures are numbered from 301 to 310.
- A fixture sheet window is open.
To select fixture 301, type:
| User name[Fixture]>Fixture 301 |
Only the main fixture is selected.
- A dot (.) can be added to the main fixture’s selection syntax to select all subfixtures quickly.
To select fixture 301 and all its subfixtures, type:
| User name[Fixture]>Fixture 301. |
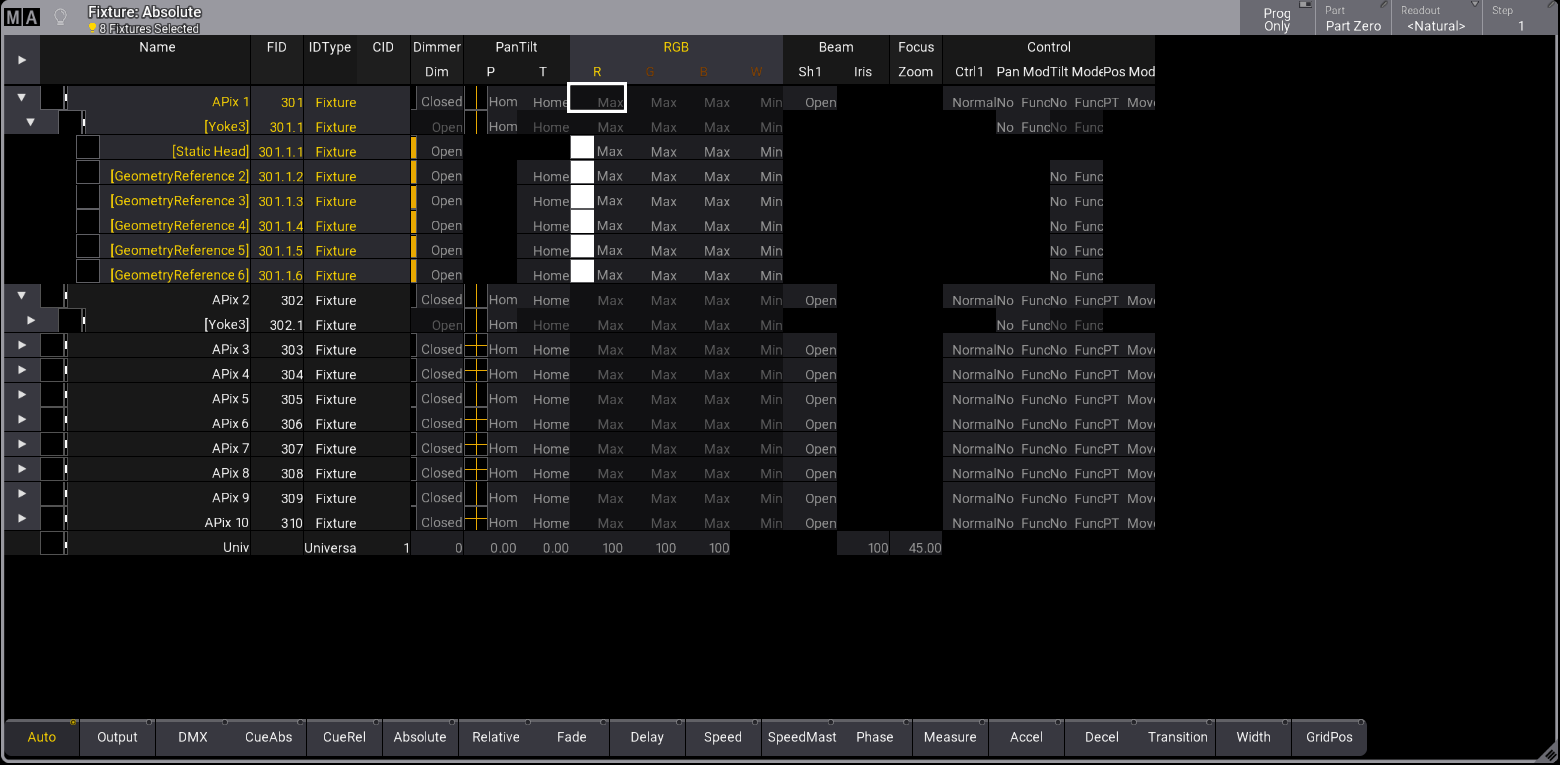
All AlienPix (fixtures and subfixtures) are selected.
To select the main fixtures and all subfixtures of fixtures 301 thru 303, type:
| User name[Fixture]>Fixture 301 Thru 303. |
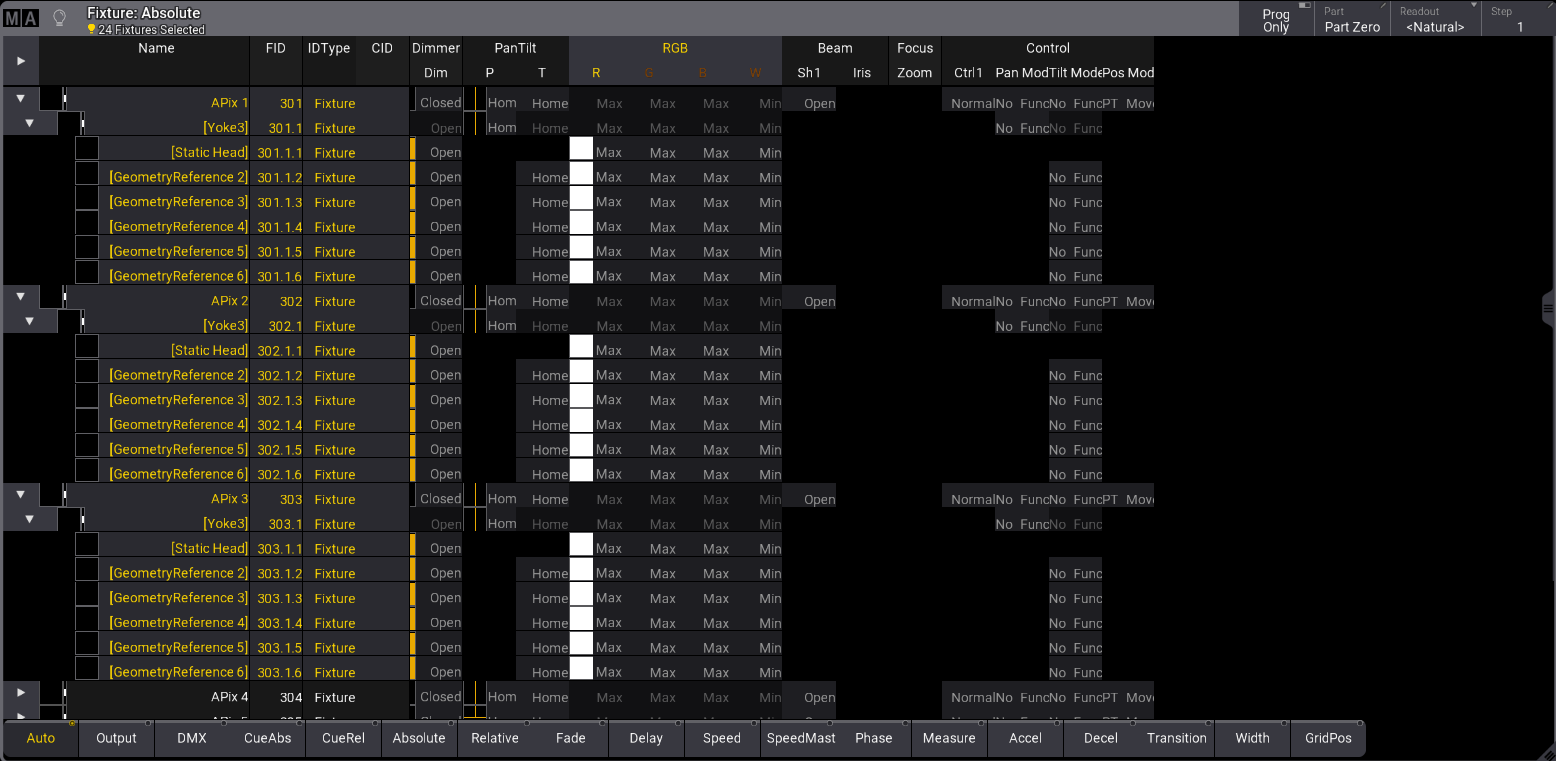
All AlienPix ( fixtures and subfixtures) are selected.
- The dot selects the subfixtures downwards from the specified level. Therefore, selecting only the pixels of an AlienPix is also possible.
To select all pixels of an AlienPix, type:
| User name[Fixture]>Fixture 301.1. Thru |

All pixels of an AlienPix are selected.
To select pixels of an AlienPix in particular, type:
| User name[Fixture]>Fixture 301.1. Thru 4 + 6 |
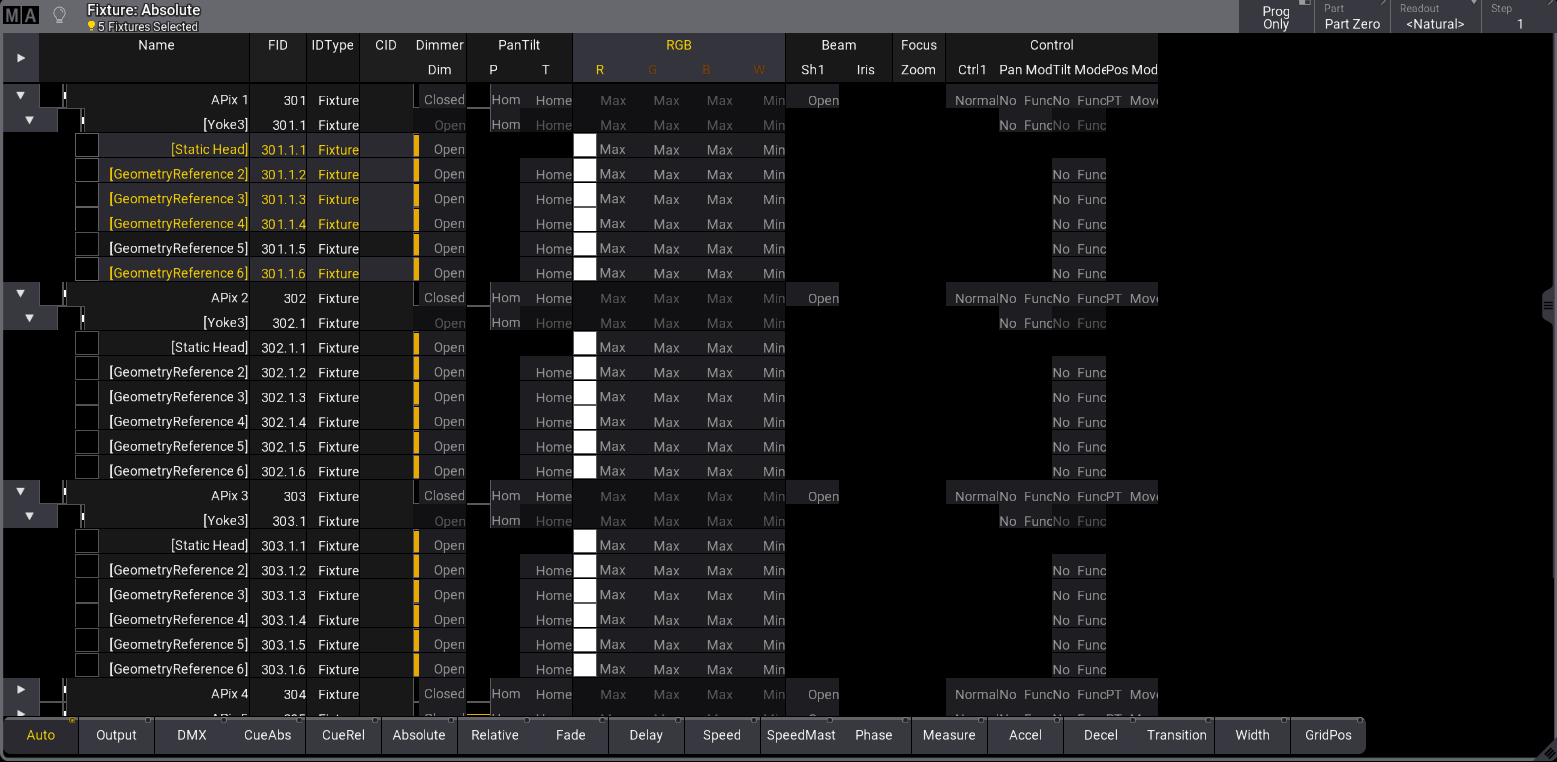
Particular selection of pixels.
General Fixture Selection
Section titled “General Fixture Selection”To select all fixtures and subfixtures, type:
| User name[Fixture]>Fixture Thru . |
To select all parents of all fixtures, type:
| User name[Fixture]>Fixture Thru |